
With our hosting portal you can add additional authorized users to manage part or all of your your account with us by granting them access through our user management tool.
Invite a New User to Your Hosting Portal
Permissions Note: Invited users do not have the ability to invite other users to your account even with all permissions enabled. Only the owner of the account can invite new users.
- Log into your hosting portal
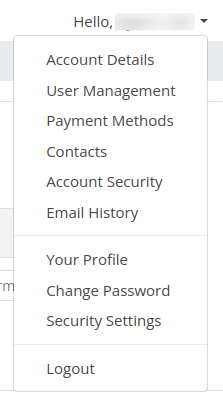
- Go to the upper-right hand corner, and click the drop down arrow next to your name, and then click User Management
- To invite a new user, you can enter their email address in the ‘Invite New User’ section on this page.
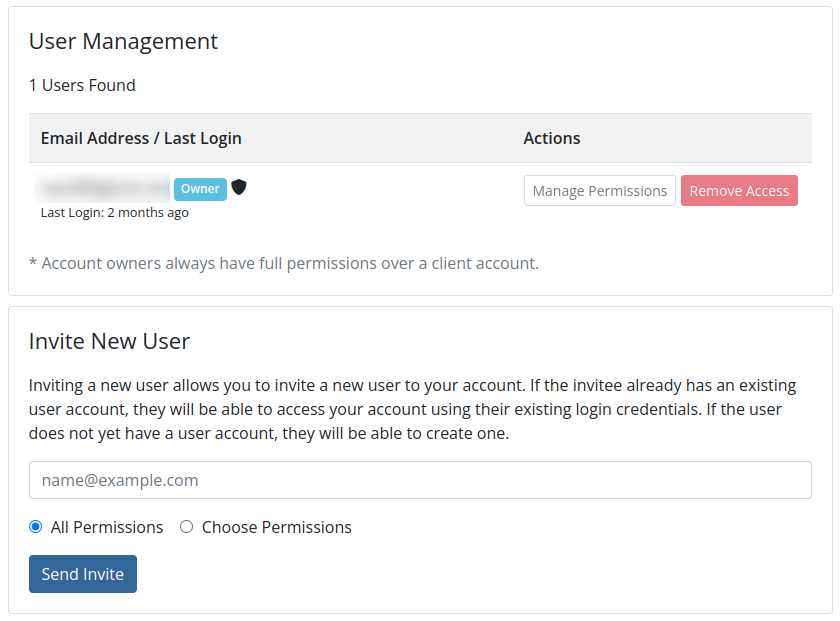
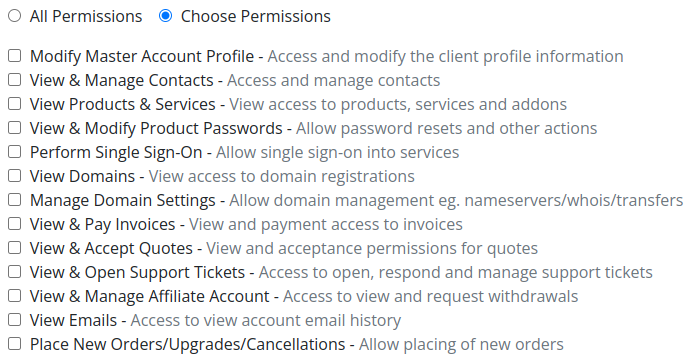
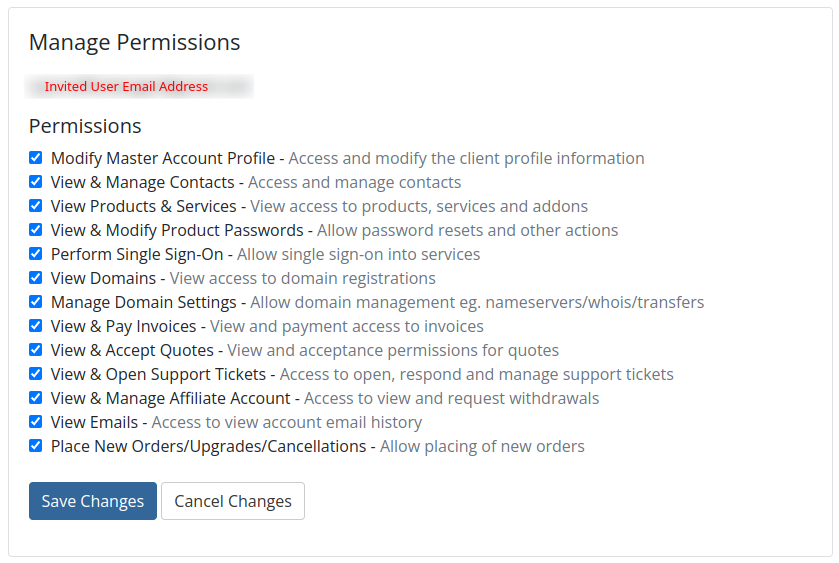
- If you want to restrict the permissions of the user that you are inviting so that they only have access to view and modify specific parts of your account, you can do so by switching the radio button from ‘All Permissions’ to ‘Choose Permissions.
- Click Send Invite
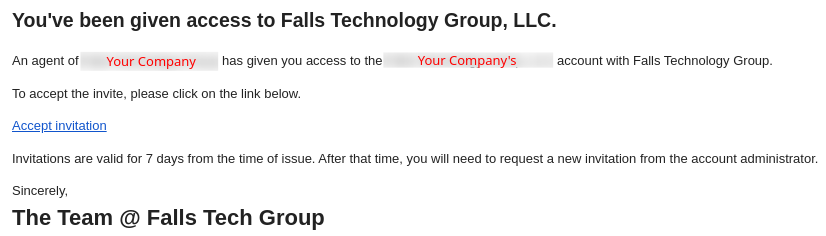
Note: This will send an email to your invitee that contains the following contents:
Resend an Invite for An Authorized User
- Log into your hosting portal
- Go to the upper-right hand corner, and click the drop down arrow next to your name, and then click User Management
- Find the user in the list that you want to modify the permissions for and click Resend Invite
Cancel an Invite for An Authorized User
- Log into your hosting portal
- Go to the upper-right hand corner, and click the drop down arrow next to your name, and then click User Management
- Find the user in the list that you want to modify the permissions for and click Cancel Invite
Modify Permissions for An Existing Authorized User
- Log into your hosting portal
- Go to the upper-right hand corner, and click the drop down arrow next to your name, and then click User Management
- Find the user in the list that you want to modify the permissions for and click Manage Permissions
- Adjust the permissions you want this user to have, and then click Save Changes
Remove an Authorized User
- Log into your hosting portal
- Go to the upper-right hand corner, and click the drop down arrow next to your name, and then click User Management
- Find the user in the list that you want to modify the permissions for and click Remove Access