How to Migrate an Existing WordPress Website into cPanel
In many cases, you may already have a WordPress website that you’d like to move over to our hosting.
Before continuing yourself, be sure to follow the steps in the How to Install WordPress on Your Account guide.
You will need to do this so that you have a clean destination WordPress install for your data to be migrated into. The migration wizard will then use that existing framework to overwrite this empty site with your desired contents.
To do this, you can follow the steps below:
Prepare Your Site for Migration
Before continuing, it is recommended that you take a backup of your website for safe keeping. This process does not typically affect the source site, however we recommend caution when installing any plugin – even trusted plugins – to ensure that you don’t lose any precious data housed within your website.
- Log into your existing WordPress Website
- Go to Plugins > Add New Plugin
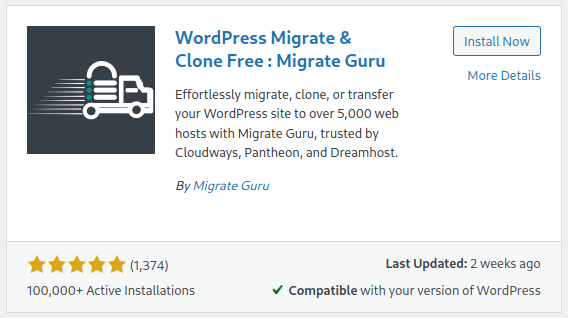
- Search for ‘Migrate Guru‘ and install ‘WordPress Migrate & Clone Free : Migrate Guru‘

- Click Install Now, and then Activate
- Once the plugin is activated, go to the left-hand admin menu bar and select MigrateGuru
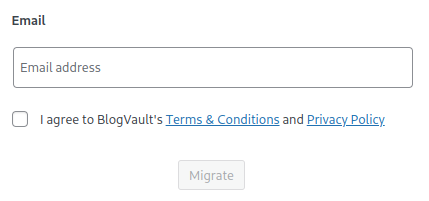
- Enter in your email address, and check I Agree, and then Migrate

- You will be redirected to ‘mg.blogvault.net‘ to complete your migration.
- In the list of hosts to migrate to – click cPanel

- You will be prompted for your MigrateGuru migration key. Follow the next steps below.
Get Your Migration Key
To tell Migrate Guru where you wish to migrate the site to, we need to obtain a Migration Key that is automatically generated when the Migrate Guru plugin is installed and activated in WordPress.
- Log into your new empty WordPress instance that you created on our hosting.
- Go to Plugins > Add New Plugin
- Search for ‘Migrate Guru‘ and install ‘WordPress Migrate & Clone Free : Migrate Guru‘

- Click Install Now, and then Activate
- Once the plugin is activated, go to the left-hand admin menu bar and select MigrateGuru
- Find the migration key at the bottom of the setup wizard

- Copy the key to your clipboard for use in the next section.
Initiate Your Migration
- Go back to your source site that you want to migrate, and paste your migration key into the wizard

- Click Migrate
- Wait for the migration to finish. You can leave this page if you wish while the migration tool is working.
Note: It may take some time. You will receive updates in your email where you can check the progress at any time. - Once it’s finished, you can log into your new WordPress install and check to see that everything is working.
Article Overview
On this page
Topics Discussed
Share this article
