Add a New Blog Post to Your WordPress Website
Go to the ‘Add New Post’ Page
We utilize the ‘Classic Editor’ to provide support for legacy plugins in your website and provide a more straightforward editing experience over Gutenburg. These guides are written assuming that the ‘Classic Editor’ has remained enabled on your site.
- Log into your WordPress website
- In your Admin Dashboard, go to Posts > Add New Post

A screenshot of the WordPress dashboard with arrows pointing to the Posts, and Add New Post menu and sub-menu items respectively.
Understanding The ‘Add New Post’ Page
There will be several options on the ‘Add New Post’ page, which we will break down into subsections below to talk about what they are, how they work in WordPress, and where you can expect to find this information on the visitor side of your website.
Title & Permalink
The title and permalink section of your editor will always be located at the top of the page. When writing a title for the first time, a permalink will automatically be generated below when you click out of the text field. You can modify the slug for your article here before publishing. (It can be edited after, but we recommend against this without appropriate redirects installed)

Post Content
The content section of your post provides a rich-text editor with traditional WYSIWYG (What You See Is What You Get) functionality. This is where you will put the actual content of your post.

Publish Settings
This section gives you control over your publishing settings, as well as provide access to a preview session for you to view your changes before you save a draft or publish your post.
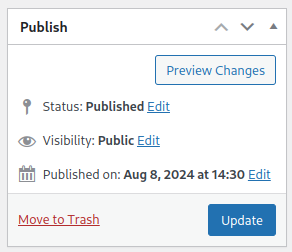
To preview changes made in the Title or Post Content section on your website prior to saving a draft or publishing, you can click Preview Changes. This will open another browser tab to view a preview of your new content on your website.
Note: It is a known issue that the preview changes functionality doesn’t always work 100% accurately, in that sometimes Theme settings or Templates will not load properly in this view. Actual published results may vary slightly.
Status
You have the ability to set a status for the post. There are four total statuses available for a post by default, with two of them being available in the drop down before publishing.
- Draft – Will save the post as a draft, but will not make the content available to other users to view on the public side of your website.
- Pending Review – Will save the post in ‘pending review’ status, but will not make the content available to other users to view on the public side of your website.
- Published (Available after Publishing) – Will save changes to the post while maintaining it’s public availability.
- Scheduled (Available after clicking Publish with the ‘Publish On’ field set to a future time/date)
Visibility
You have the ability to set the audience that will be allowed to view this content. By default, the visibility will be set to public.
- Public – This will make the content available for anyone who is publicly viewing the site, provided that there are not other plugins restricting this content.
- Password protected – This will make the content available for anyone who is publicly viewing the site, but will prevent the content from being viewed until a password is entered. You can only set a single password, and cannot perform user-based authentication for this feature.
- Private – Will make the content available for any WordPress users who have access to view all content, and for you when you are logged into the website. Will not publish on the public side of your website.
Publish On
This field allows you to set a time and date for your post to go live. If you want to back-date a post, or schedule a post in the future, simply set the appropriate date and save this field.
- If the date is in the past – The post will publish with the status and visibility you selected, with the ‘date created’ field being set to this value
- If the date is in the future – The post will publish on the respective date and time with the status and visibility you selected, with the ‘date created’ field being set to this value
Category Selection
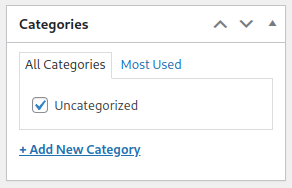
This section allows you to create and associate categories with your post. You have the ability to select a single category, or multiple categories and specify a primary category.
Note: We recommend that you start by selecting a single category for your post whenever possible to keep the organization of your site as easy as possible.
Tag Selection
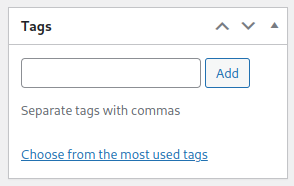
This section allows you to create and associated tags with your post. You have the ability to select a single tag, or multiple tags.
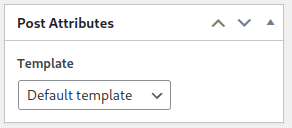
Post Attributes
This section allows you to select specific settings for your Theme. We do not use this section as your theme settings are controlled by Elementor.
Note: Modifying this field may result in unexpected changes to your website layout. We recommend leaving this setting alone when editing existing posts, or keeping it set to it’s default setting when creating new posts.
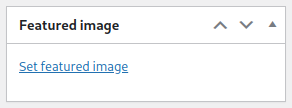
Featured Image
This section gives you the ability to select a ‘preview image’ for your post. In most cases, this image is what is used when search engines and social media platforms generate a preview of your website. This image is sometimes also used in other places on your site, such as a preview for your post, or as a background for the hero image.
